Last updated November 21, 2026
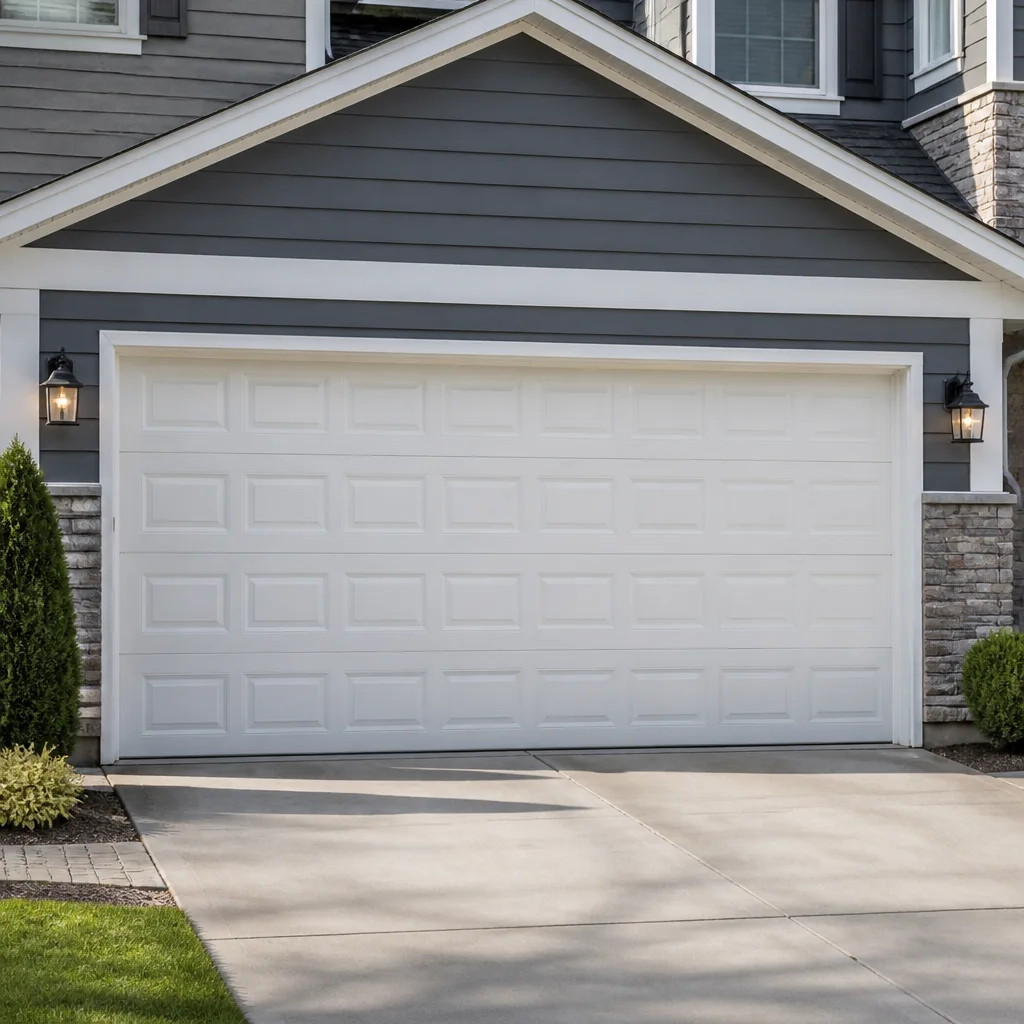 Raised-panel steel
 Carriage house
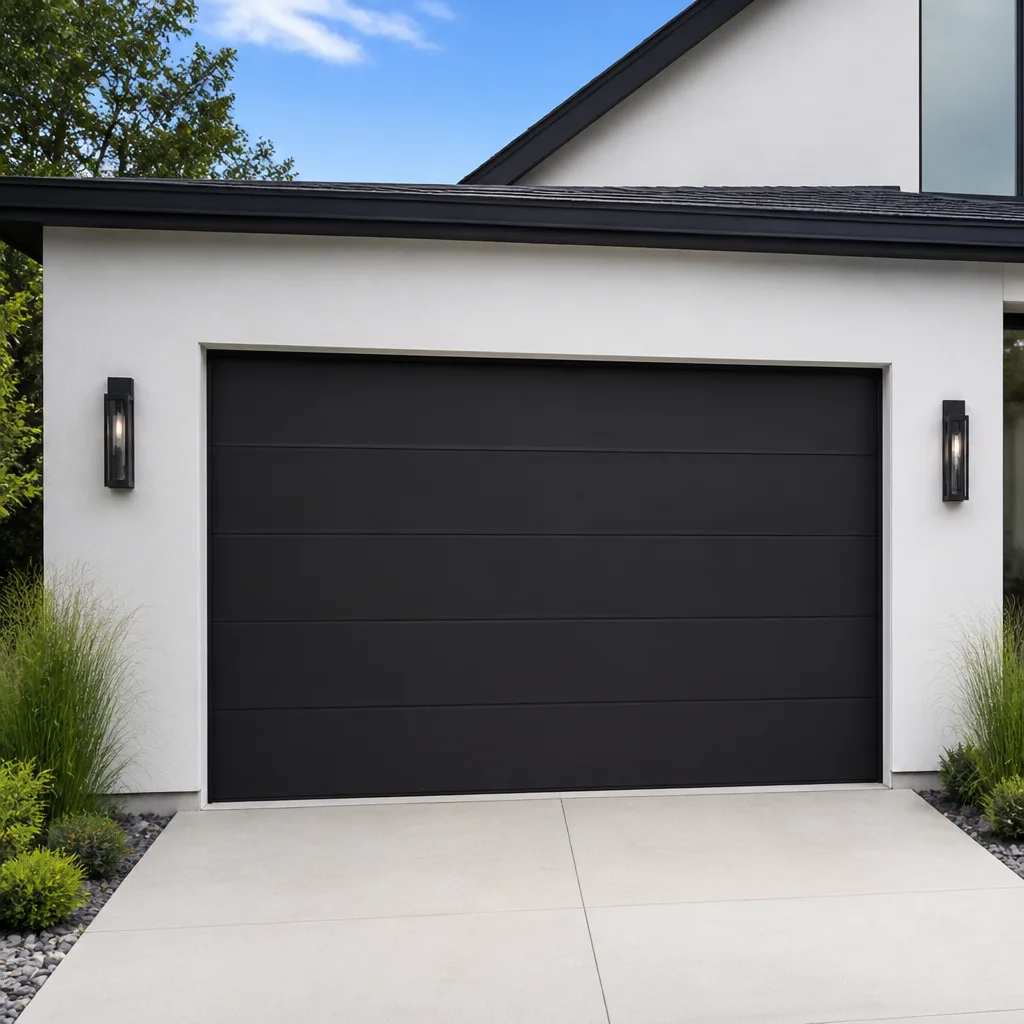 Modern flush
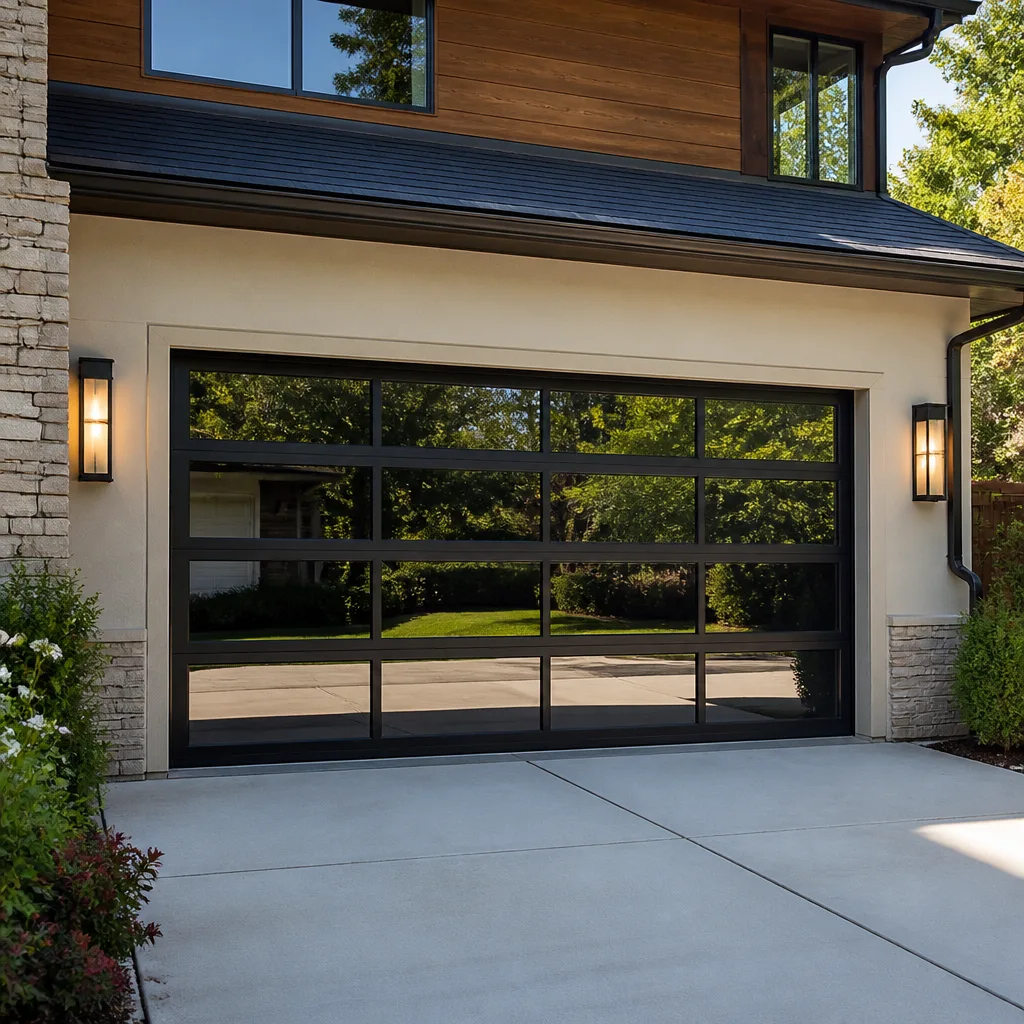 Full-view glass
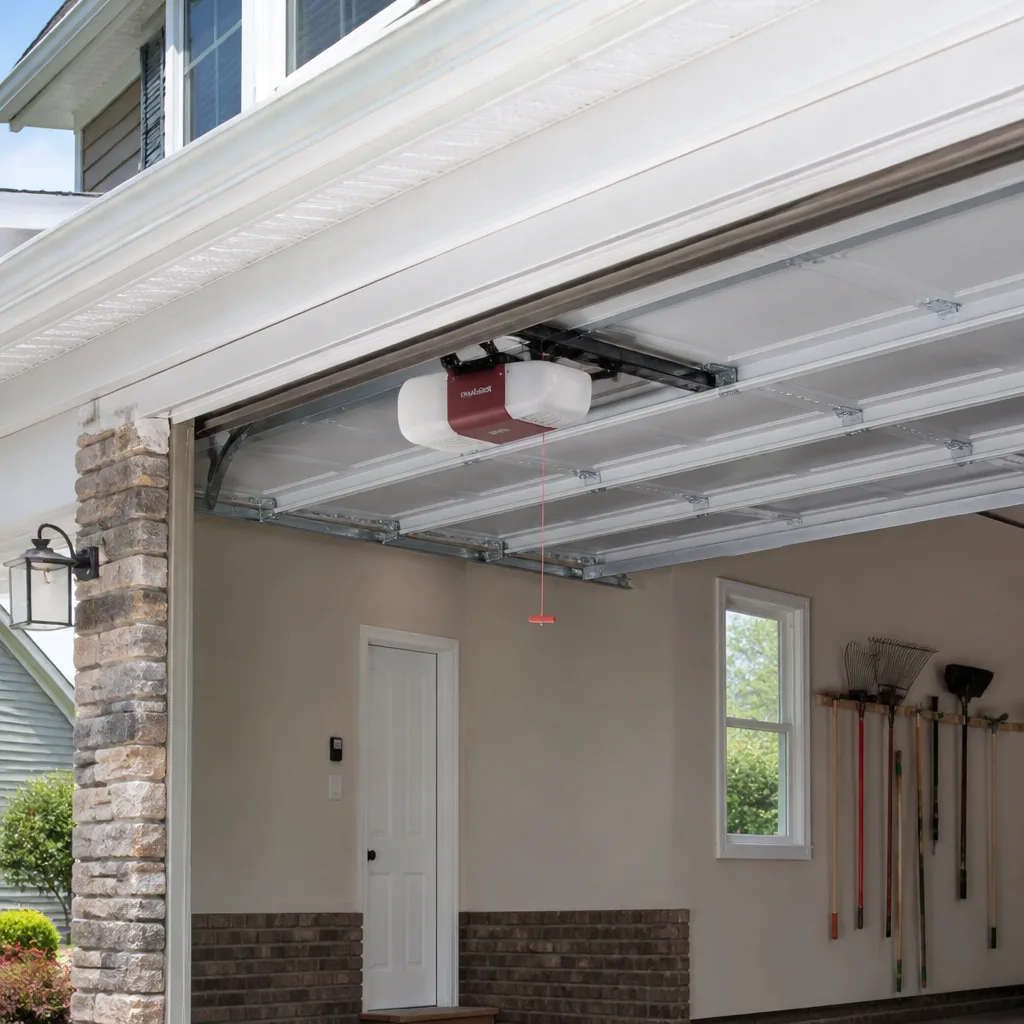 LiftMaster openers
 Chamberlain openers
Full 25-point door and opener safety check with every visit - springs, cables, rollers, tracks, and your LiftMaster or Chamberlain opener included
You get a price before we start. It does not change when the pro arrives.
Get your free estimateGarage Door Repair Maintenance Checklist for Sicklerville Homeowners
The three repairs we get called for most often in Sicklerville were preventable, and each one showed a warning sign on a fifteen-minute inspection the month before it failed. Most maintenance checklists fail because they hand you a list of tasks with no diagnostic logic behind them: wipe this, tighten that, listen for noise. They tell you what to do, never what a bad result looks like. This guide works backward from the calls that fill our schedule in Sicklerville. For each check you’ll learn what pass looks like, what fail looks like, what tool you actually need, and which items should never be touched by anyone but a trained technician. You’ll finish knowing exactly what to look at, how long it takes, and when a finding means “keep an eye on it” versus “call today.”
Quick Answer
A garage door maintenance checklist works best when it pairs every task with a clear pass/fail sign, and most of it you can do in about fifteen minutes a month with eyes, ears, and a rag. Check the balance, the rollers, the hinges, the weather seal, and the reversal safety feature yourself, then log what you find so future repair-or-replace decisions rest on evidence instead of memory. Springs, cables, and anything behind the torsion tube belong to a trained technician, every time.
Styles & brands we work with
- Raised-panel steel
- Carriage house
- Modern flush
- Full-view glass
- LiftMaster openers
- Chamberlain openers
Table of Contents
- Why a Checklist Built Backward Works Better
- The Eyes-and-Ears Inspection: What Pass and Fail Look Like
- The Balance Test: Your Door’s Single Most Telling Check
- The Lubrication Map: Where to Oil and Where Never To
- The Safety Reversal Check Every Month
- Weather Seals, Tracks, and the Sicklerville Seasons
- Realistic Time-per-Task Breakdown
- How to Log Findings and Build a Maintenance History
Why a Checklist Built Backward Works Better
Most garage door guides start with a generic list and hope the reader figures out which items matter. We start from the failure end. In Sicklerville, the calls we take most often cluster around a handful of parts: a spring that finally gave out, a door that came off its track, an opener straining under a door that stopped balancing years ago, and rollers worn smooth enough to grind. Every one of those failures began as a smaller symptom somebody could have seen.
Building the checklist backward means each task earns its place. If a check can’t catch a real problem, we leave it out. If a check catches something but the fix is dangerous, we tell you to stop and call rather than hand you a wrench and wish you luck. That’s the whole philosophy, and it’s why this checklist should feel shorter and more pointed than the ones you’ve seen taped to a garage wall.
Sicklerville homeowners lean on their garage doors hard. Many homes here have attached garages that serve as the main entry, so the door cycles several times a day, more than a door used only for parking. More cycles means faster wear on rollers, hinges, and springs. A checklist you run once a month catches that wear before it becomes a repair.
One more point about how this guide fits together with your bigger picture. If you reach a finding you can’t fix yourself, or you’re weighing repair against replacement, the answer usually starts with a professional look at the whole door. That’s what our Garage Door Repair Sicklerville page covers, and it’s the right next step when a checklist item turns up something serious.
The Eyes-and-Ears Inspection: What Pass and Fail Look Like
This is the part that requires no tools at all, just a slow walk around the door while it’s closed, then another while it moves. Give it five minutes. The trick is knowing what you’re looking at, so here’s each check with its pass and fail conditions spelled out.
Visual checks with the door closed
- Rollers: Pass means rollers turn freely and the nylon or steel surface is smooth. Fail means flat spots, cracks, or a roller that wobbles in its bracket. A grinding sound during travel usually traces back here.
- Hinges: Pass means hinges sit flat with no rust weeping from the joints. Fail means visible rust, a loose plate, or a hinge that’s pulled away from the door panel.
- Springs (look only): Pass means the coil is intact and evenly spaced. Fail means a visible gap in the coil, a stretched section, or rust that looks like it’s eating into the wire. Look, don’t touch.
- Cables (look only): Pass means cables run straight and sit tight against the drum. Fail means a cable that’s frayed, kinked, or hanging loose. A loose cable is a call-today item.
- Panels: Pass means panels are flat and joints line up. Fail means dents, cracks, or a panel that’s separated from its neighbor.
- Weather seal: Pass means the bottom rubber meets the floor with no light showing. Fail means a visible gap, a torn seal, or a seal that’s turned brittle.
Listening checks while the door moves
Stand back and watch and listen as the door opens and closes fully. Pass means smooth, even travel with a steady hum and a soft stop at each end. Fail means any of the following: a bang or pop at the start or end of travel, a rattle that changes pitch, a squeal, or the door pausing partway. Those sounds are early warnings, and catching them early is what keeps a repair small.
If something in this walk-around doesn’t look right and you’d rather have trained eyes on it, that’s exactly what garage door repair visits are for. A technician can confirm the diagnosis on the spot, so you’re not guessing whether a noise is serious.
The Balance Test: Your Door’s Single Most Telling Check
If you only run one check this month, run this one. The balance test tells you whether the door’s springs are carrying their share of the weight. When they’re not, the opener shoulders the difference, and openers aren’t built for that. It’s the quiet cause behind a lot of premature opener failures.
How to run the balance test safely
- Close the door fully and disconnect the opener using the manual release cord. Pull it straight down with the door closed.
- Lift the door by hand to about halfway, roughly waist height, then let go.
- Watch what happens. A balanced door holds its position, maybe drifting an inch or two. A door that drops on its own is telling you the springs have weakened. A door that rises on its own is telling you the springs are too strong or the tension is off.
- Reconnect the opener by running it until the carriage re-engages, or by following the release instructions that came with your opener.
What a fail means
A door that won’t hold position is a spring problem, and spring work is the one job on this checklist you should never attempt yourself. Torsion springs store enormous energy, and the hardware that holds them under tension can cause serious injury if handled wrong. This is where a trained technician earns their keep, and it’s why we handle garage door spring repair as its own dedicated service rather than an add-on to other work. If your balance test fails, stop testing and get it looked at. The parts behind the torsion tube are not a homeowner job, and treating them as one is how people get hurt.
One practical note for Sicklerville: a door that fails the balance test in a stretch of cold weather may pass a day later when it warms up. Metal contracts and springs behave differently in the cold. Run the test twice, a few days apart, before you decide. If it fails both times, it’s a real problem.
The Lubrication Map: Where to Oil and Where Never To
We take more calls from over-lubrication than from skipped lubrication. A dab of the wrong product in the wrong place attracts grit, gums up the works, and in one classic mistake causes the opener carriage to slip. So here’s the map, plain and specific. The right product for almost every point on a residential door is a white lithium grease or a silicone-based garage door lubricant. Not WD-40, not cooking oil, not motor oil.
Points that get lubricated
- Roller stems and bearings: one light drop where the roller meets its stem. This is the highest-value lube point on the door.
- Hinges: a small amount at each pivot point. Hinges squeak because they run dry, and a little grease quiets them without attracting dust.
- Torsion spring coils: a light spray along the coil, never a heavy coat. This slows rust, which is the main enemy of a spring.
- The opener rail or chain: follow the opener manufacturer’s guidance. LiftMaster and Chamberlain units generally want a specific product on the rail, so check the manual before you reach for anything.
Points that should never be lubricated
- The track itself: this is the mistake that causes more calls than any other. Tracks are meant to be clean and dry. Grease on a track collects dust and grit until the rollers start to bind and the door drags. Wipe tracks with a dry cloth only.
- The opener carriage or trolley: leave it alone. Grease here can let it slip.
- Photo-eye lenses: a dry, soft cloth only, or you’ll smear the lens and trip the safety circuit.
While you’re lubing, it’s worth a look at the opener itself if it’s a Genie or a Chamberlain unit. Those brands have specific maintenance notes in their manuals, and following them keeps the unit quiet and reliable. If your opener is the source of a noise rather than the door, that’s a different job, and garage door opener repair covers what usually goes wrong inside the housing.
The Safety Reversal Check Every Month
This is the check that protects everything under the door, and it takes two minutes. The reversal safety feature is what stops the door and sends it back up when it meets an obstruction. It should be tested monthly, and the test is simple enough that there’s no excuse to skip it.
Test one: the photo-eye test
- With the door open, find the two small sensor lenses mounted at floor level on either side of the opening.
- Wave a hand or a broom handle in front of one lens while the door is closing.
- The door should reverse immediately. If it keeps closing, the safety circuit has failed and the opener needs attention.
Test two: the contact reversal test
Lay a piece of wood or a folded towel flat in the middle of the doorway, then close the door using the wall control and watch. A properly set door reverses the moment it touches the object. If it presses down instead, the force setting needs adjusting, and that’s a technician call, not a dial turned by guesswork.
What failure means
A failed reversal test is not something to live with for a few weeks. It’s the one checklist item we’d rank as urgent, because it’s the difference between a door that stops and one that doesn’t. For a Sicklerville home where kids, pets, or a car in the driveway cross the opening regularly, this deserves a same-day look. Our team treats the reversal check as a core part of any service visit precisely because it’s so easy to overlook.
Weather Seals, Tracks, and the Sicklerville Seasons
Sicklerville sits in South Jersey, where summers run warm and humid and winters bring real cold snaps. That swing is hard on garage door materials. The rubber weather seal along the bottom of the door hardens and cracks in the cold, then lets water in when it thaws. It’s one of the cheapest parts to replace and one of the easiest to skip until water’s on the garage floor.
Weather seal checks
- Bottom seal: Pass means it’s flexible and meets the floor with no light showing underneath. Fail means a visible gap, a hardened or torn edge, or water pooling at the door line during a heavy rain.
- Side and top seals: Pass means the rubber sits against the jamb with no daylight gaps. Fail means shrunk, cracked, or missing seals, which let drafts and insects in.
- Seal at the threshold: Pass means the door is making full contact with the floor across its width. Fail means light you can see under the door, which points to an uneven floor or a door that needs adjustment.
Track checks
Tracks take a beating from temperature swings, and the vertical sections can shift out of alignment. Pass means the door rolls up and down with no side-to-side wobble and the track looks straight. Fail means a bent spot, a track pulled away from the wall, or a door that grinds against one side as it travels. Don’t force a door that’s jumped its track. That’s a technician call, and it usually means the door has come out of alignment enough to damage the panel if it’s cycled again.
If your panels have taken a beating from a backed-out car or a storm, that’s a different conversation. Panel damage is one of the most common reasons Sicklerville homeowners start thinking about a replacement, and the full options are worth understanding before you commit.
Realistic Time-per-Task Breakdown
The reason most checklists get abandoned is that they read like a weekend project. Real time per task is small. Here’s the honest breakdown, so you can decide whether to do it in one sitting or a few pieces.
- Eyes-and-ears walk-around: 5 minutes. Do it once a month, ideally when you’re already walking past the door.
- Balance test: 3 minutes. Run it quarterly, or anytime you notice the door feels heavier than usual.
- Lubrication: 8 to 10 minutes. Every six months is plenty for most Sicklerville doors. Twice a year keeps things quiet without over-greasing.
- Safety reversal test: 2 minutes. Monthly, and always after any adjustment to the door or opener.
- Weather seal inspection: 3 minutes. Seasonally, before summer humidity and before the first hard freeze.
- Track check: 2 minutes. Annually, or after any big storm.
- Log update: 2 minutes. After every inspection, keep it short and specific.
That’s under 20 minutes in a month where you do the safety test and the walk-around, and a few longer sessions a year. A checklist you’ll actually run beats a thorough one you dread. If fifteen minutes on a Sunday morning is what it takes to avoid a spring or opener repair, that’s a good trade.
How to Log Findings and Build a Maintenance History
A checklist without a log is just a good intention. Logging what you find turns scattered observations into a maintenance history, and that history is what makes repair-versus-replace decisions clear instead of emotional. It’s the difference between “the door feels noisy lately” and “the rollers started squeaking in March and the balance test has failed twice since.”
What to log
- Date and check performed: a one-line entry is fine.
- Result: pass, fail, or a note. “Door held position” or “door dropped when released” both count.
- What you did about it: “replaced the bottom seal” or “called for a balance check.”
- Who did the work: you or a professional. This matters down the road.
- Parts replaced and brands: note the part and the brand, which helps a technician match hardware on a return visit.
Why the brands matter in the log
If your door is a Clopay or Amarr model, or the opener is a LiftMaster or Chamberlain, logging the exact model helps a technician source the right part the first time rather than the second. Brand-matched parts matter because they fit the way they’re supposed to. That’s not a sales point, it’s why we train across eight of the most widely installed brands: diagnosis gets faster and the part is right the first time.
How to use the log
Read back through your log once a year. Two or more failed balance tests in a short stretch, repeated opener adjustments, or a string of small parts replacements all point toward a decision: keep repairing the door or put the money toward a new one. When the log shows repairs piling up faster than the door is aging, that’s when a replacement conversation makes sense. For Sicklerville homes where the door is the main entry, that’s a decision worth making with data in hand.
Common Mistakes to Avoid
- Greasing the tracks. Tracks are supposed to be clean and dry. Grease turns them into a dust magnet, the rollers start to bind, and you get a dragging door. Two sentences in and this is the single most common mistake we see.
- Forcing a door that’s off its track. If the door has jumped its track, cycling it again can twist a panel or pop a hinge. Stop, prop it safely, and call. A stuck door that stays put is a repair; one that gets forced is a replacement.
- Ignoring the balance test because the opener still lifts the door. A strained opener is failing slowly and will take the whole mechanism with it. Test the balance before the opener becomes the diagnosis.
- Treating skip-level tasks as DIY. Springs, cables, and anything behind the torsion tube are not homeowner jobs. The stored energy in those parts is the reason spring work is a dedicated service with proper tools and training.
- Skipping the safety reversal test. It’s two minutes. A failed reversal is the one finding on this list that’s an immediate call, and it’s the easiest to ignore until it matters.
- Skipping the log. Without a record, every repair feels like the first one. A written history is what tells you when a door has entered its replacement years.
- Using the wrong lubricant. WD-40, motor oil, and cooking oil all end up gumming up the works. Use a garage door or silicone-based lubricant and keep it light.
If any of these apply to your door right now, don’t wait for the next inspection. Our garage door repair team can confirm what’s wrong and what’s safe to do next.
See the difference
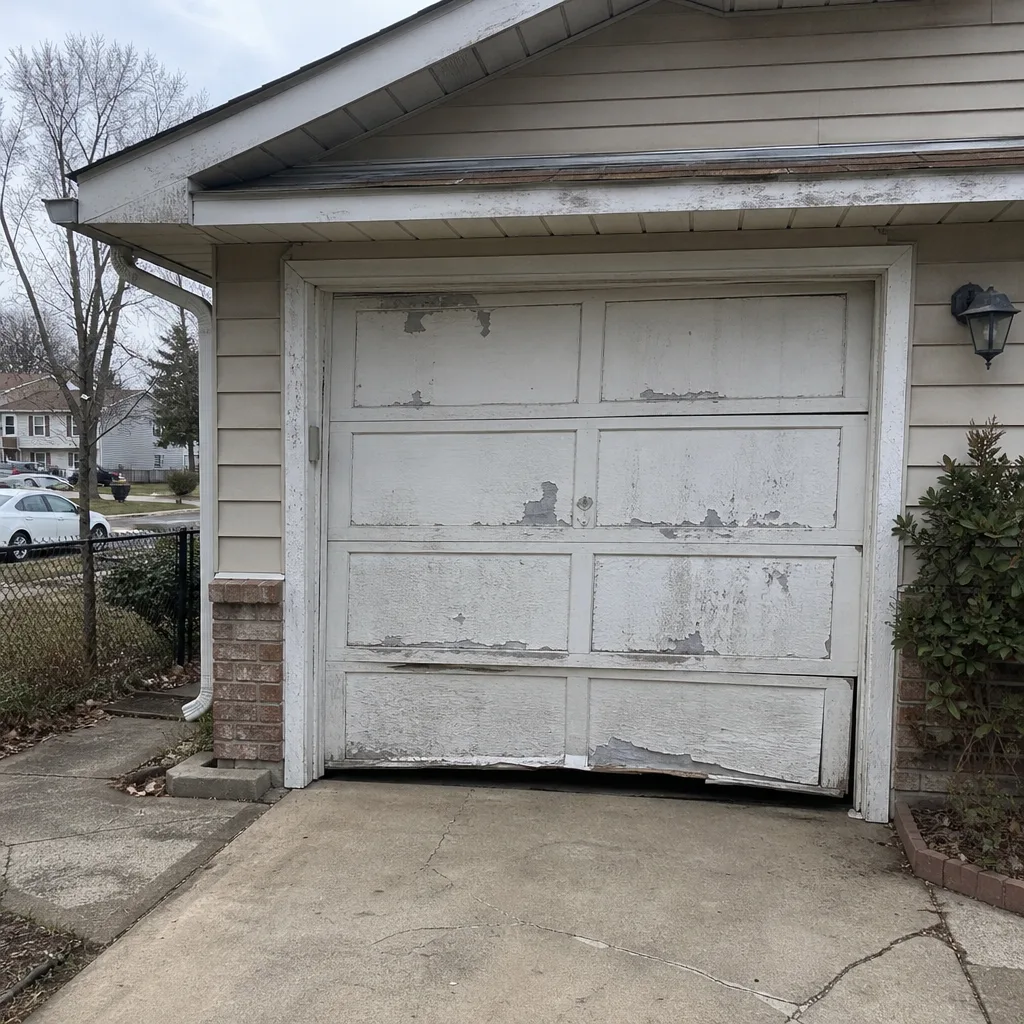 Before
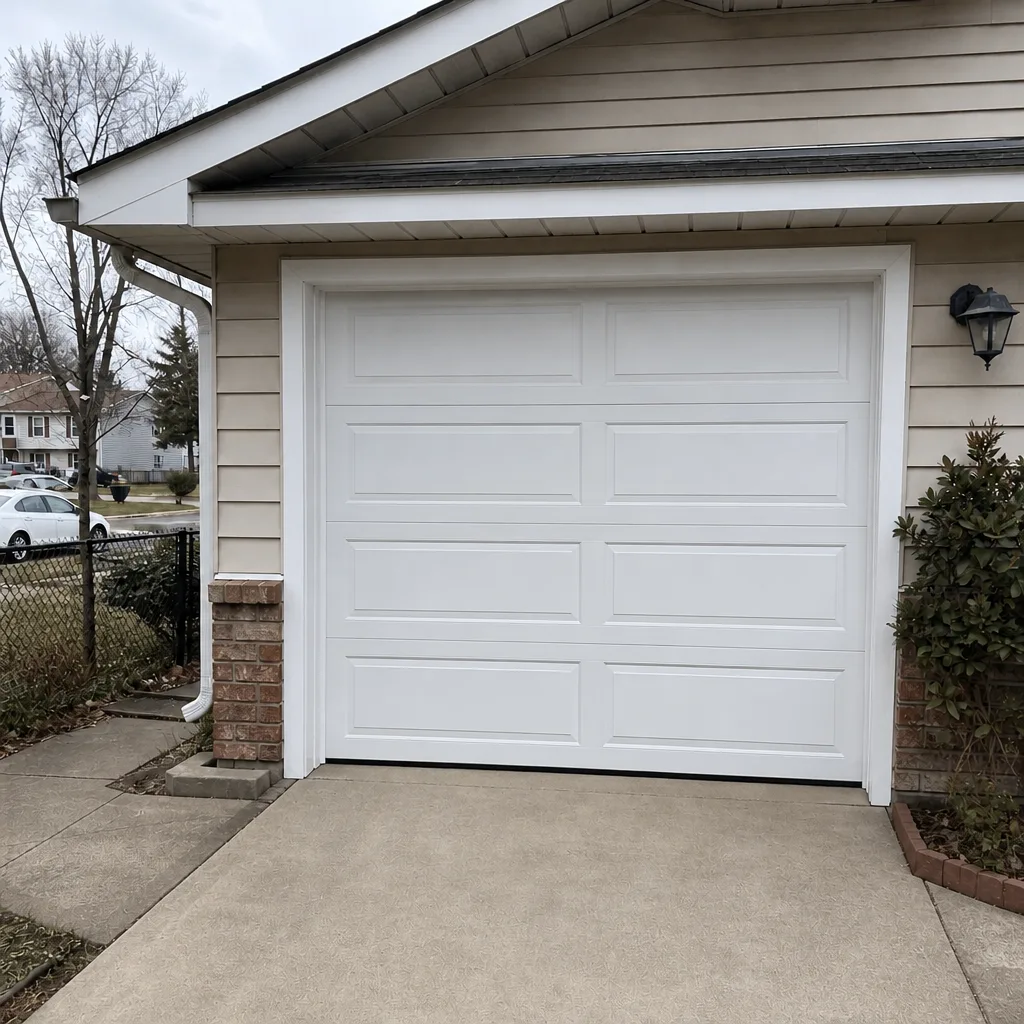 After
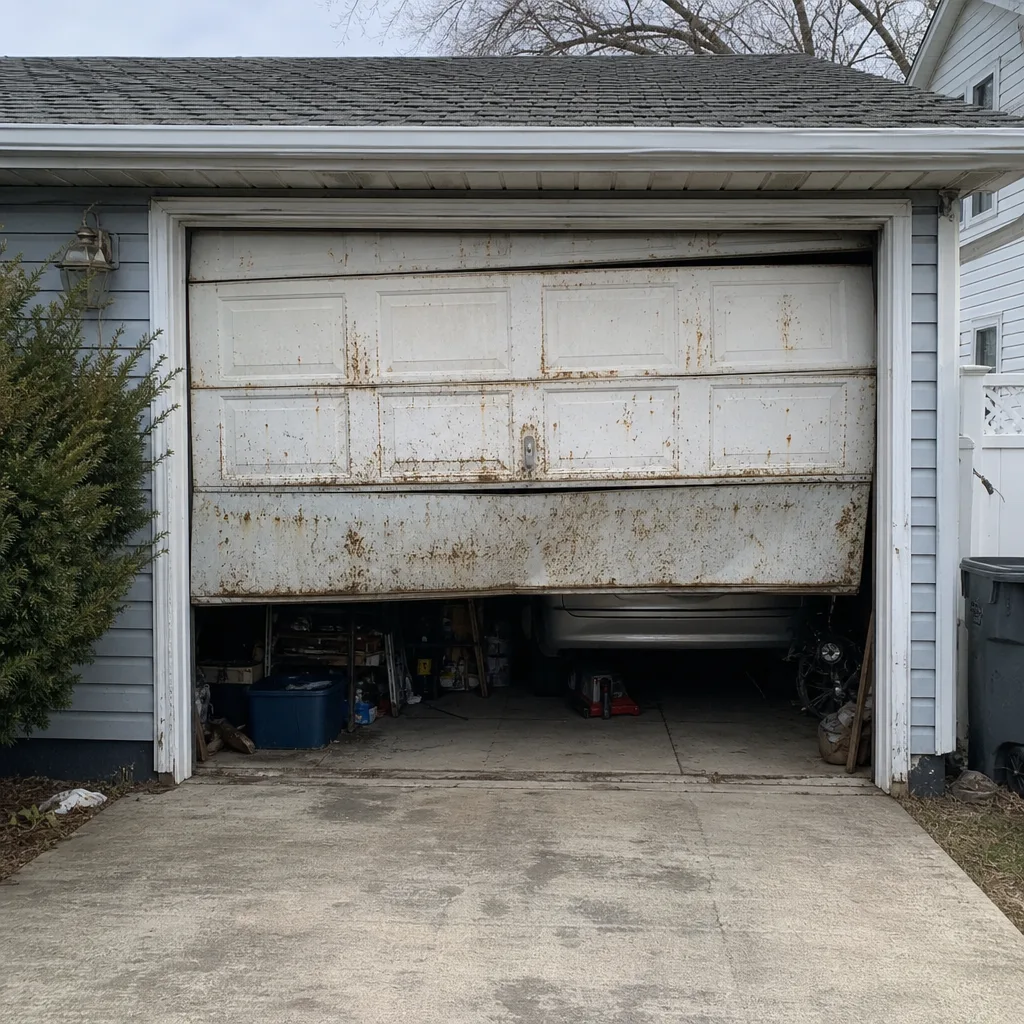 Before
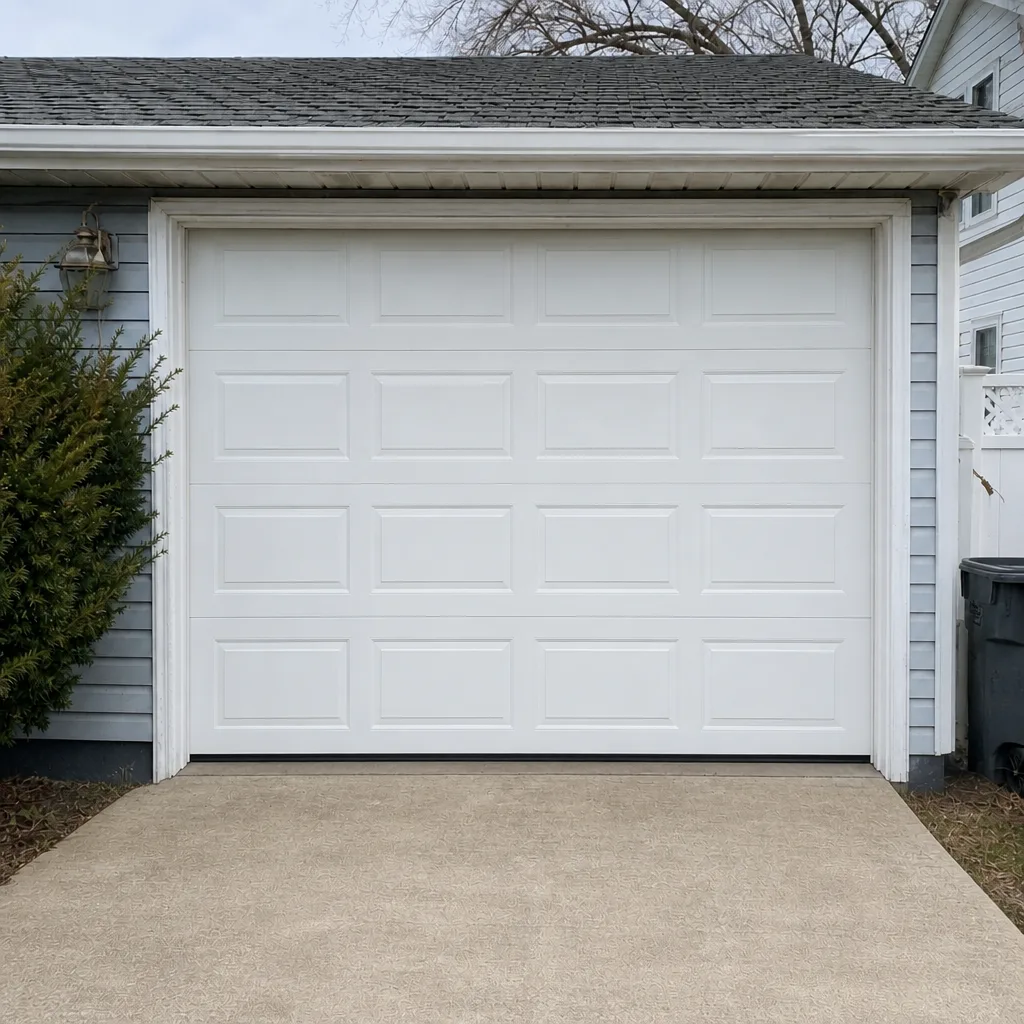 After
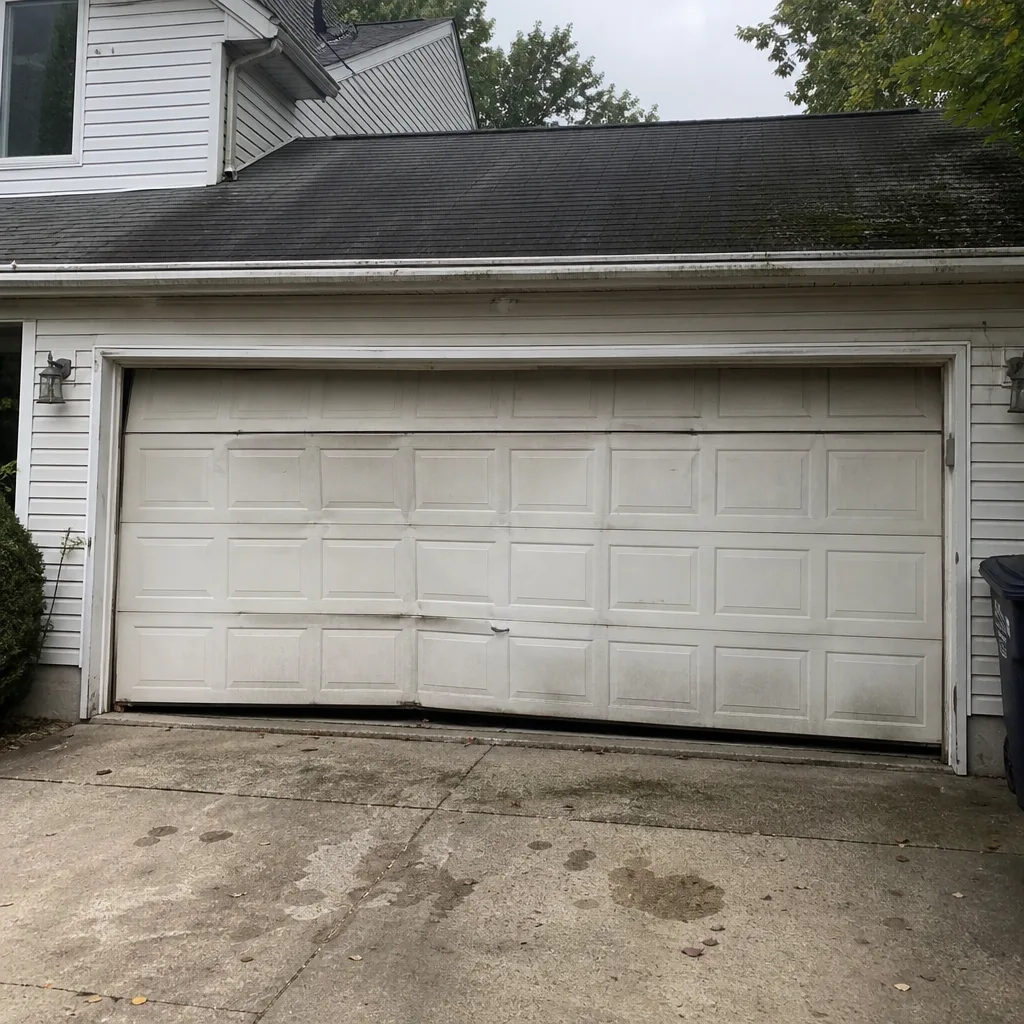 Before
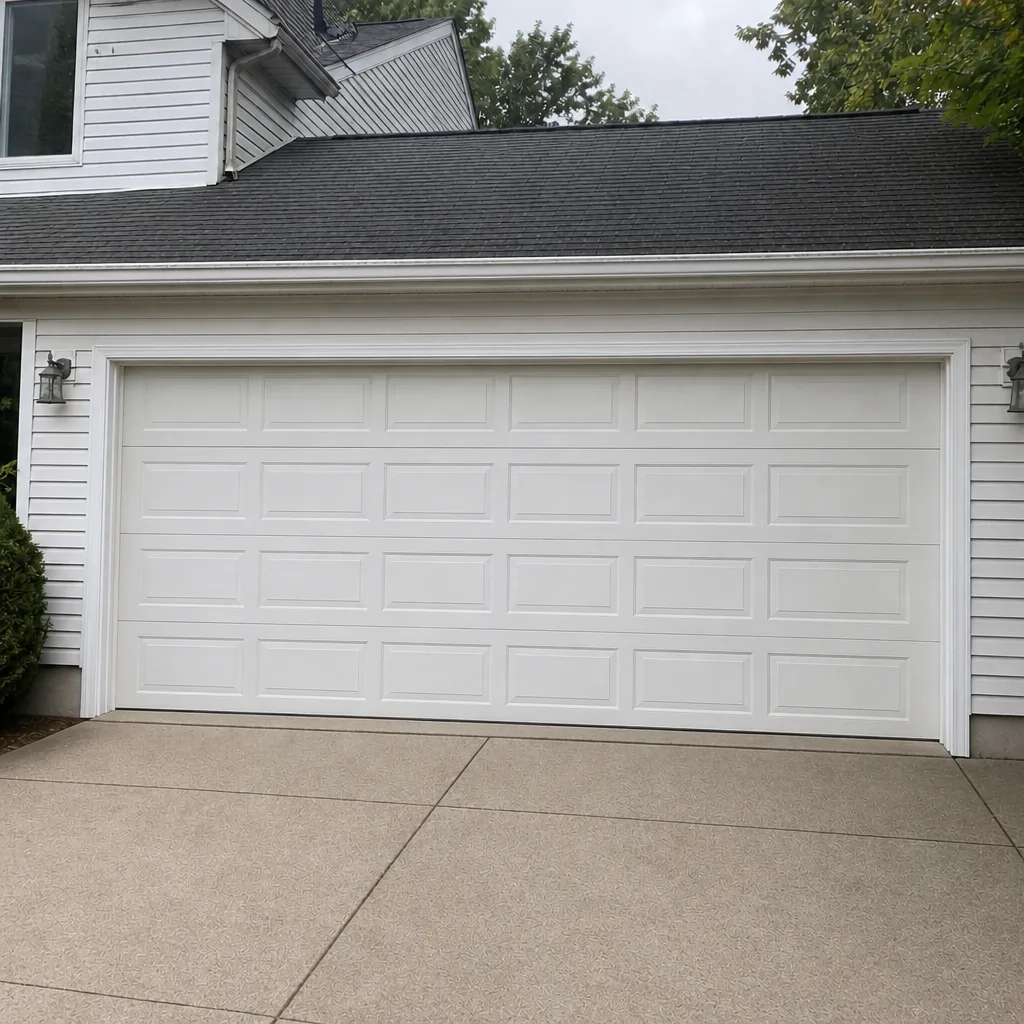 After
When to Call a Professional
Most of this checklist is within reach of a homeowner with ten minutes and a dry rag. Some items aren’t, and the line is clear. Call a professional if the balance test fails twice, if you see a gap in the spring coil, if a cable is loose or frayed, if the door has jumped its track, if the opener reverses the door in the middle of a cycle, if the reversal test fails, or if a panel is cracked or separated. Those are conditions where pushing forward can make things worse. For everything else, run your checklist, log what you find, and let the small stuff stay small.
Garage Door Repair Sicklerville offers free estimates in Sicklerville, and our technicians have up to 14 years of experience across LiftMaster, Chamberlain, Genie, Clopay, Amarr, Wayne Dalton, Craftsman, and Raynor systems. Call (877) 385-7831 to book a look, and we’ll tell you honestly whether you’re facing a repair or a maintenance item.
Frequently Asked Questions
Run the eyes-and-ears walk-around and the safety reversal test monthly, the balance test quarterly, and the lubrication pass every six months. Most Sicklerville doors that fail early were never checked at all. A 15-minute monthly check catches the wear before it turns into a repair. Call (877) 385-7831 for an exact quote on any repair the checklist turns up; estimates are free.
Yes, for rollers, hinges, and the spring coil, using a white lithium or silicone garage door lubricant. Never grease the tracks or the opener carriage, and leave springs and cables to a technician. If you’re unsure which product to use on a Genie or LiftMaster opener rail, follow the manual. Call (877) 385-7831 if you’d rather have it done during a service visit.
It means the springs are no longer carrying their share of the door’s weight, which puts the strain on the opener. A door that drops when released has weakened springs; a door that rises has too much tension. Either way, it’s a spring issue, and spring repair is the one job to leave to a trained technician. Call (877) 385-7831 for a balance check and repair estimate.
Spring repair pricing depends on whether it’s one spring or a matched pair, which are usually replaced together, plus the door size and spring type. One spring typically runs in the low-to-mid hundreds, and a pair costs about twice that. The written estimate sets the final price, and you’ll know it before any work starts. Call (877) 385-7831 for a free quote.
No. A door with a broken spring is being lifted by the opener alone, and that’s a load the opener isn’t designed for. Stop cycling the door and call for repair. Running it can damage the opener and, in the worst case, the door itself. Call (877) 385-7831 and we’ll get it looked at promptly.
Your maintenance log is the best indicator. If repairs are stacking up, the balance test keeps failing, or the opener has been adjusted repeatedly, a replacement starts making sense. If the door is structurally sound and the issues are wear items, repair is usually the right call. Call (877) 385-7831 for a free estimate on both options.
The written estimate is the price, and it’s quoted and agreed before any work starts. If the technician finds something the checklist didn’t reveal, you’ll hear about it and approve it before any additional work begins. No surprises on the invoice. Call (877) 385-7831 for a free estimate.
The Bottom Line
A maintenance checklist works when it tells you what pass and fail look like, not just what to touch. Run the monthly walk-around and safety reversal test, the quarterly balance test, and the twice-yearly lubrication pass, and skip the tracks entirely with any lubricant. Stop at springs, cables, and anything off its track, and let a technician take those. Log everything, because the record is what turns a string of small repairs into a clear repair-or-replace decision. In Sicklerville, where the garage door is often the main entry, fifteen minutes a month is the cheapest insurance against the calls that fill our schedule. Call (877) 385-7831 for a free estimate whenever a checklist item turns up something you can’t handle.
Written by the team at Garage Door Repair Sicklerville.